custom email aliases in Outlook.com
Update October 2013: This little trick is no longer necessary. It looks like Microsoft has added the option to add an existing email address as a Microsoft account alias, which is what this hack was getting at. Now, to use your domain, you will simply select the radio button “Add an existing email address as a Microsoft account alias,” then fill in your desired email address. I recently got an email address with Outlook.com. Why? No reason, really, except to reserve my name for my email address. Call me vain, but if I ever DID decide to switch from gmail to outlook, I’d rather have a dstrunk (at) outlook (dot) com email address vs XXdstrunk011986@outlook.com. Anyway; I wanted to add my domain alias to outlook, so emails that are sent via my dstrunk.com portfolio site are forwarded to my outlook account. Problem is, the only options available for creating aliases are Microsoft’s domains: outlook.com, hotmail.com or live.com. I didn’t want any of those! So, I figured I’d try to add an option in the select box and submit the added data. This next bit assumes you’re using either Chrome or Firefox (both of which have fabulous web developer toolkits baked in).
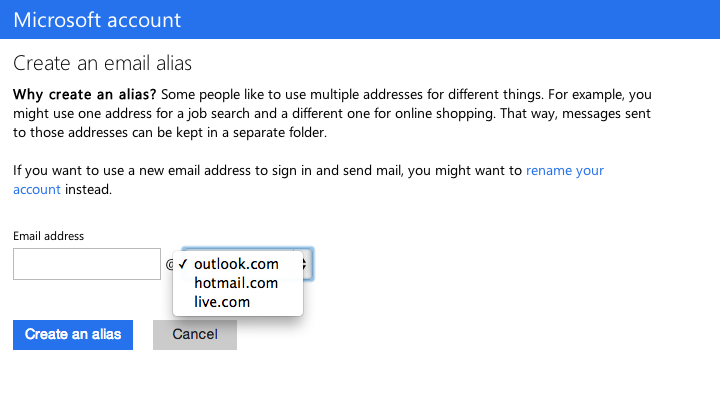
A preliminary note: You will need to ensure that the email address you are aliasing is set up to send to your outlook.com email address. If you’re using shared hosting like I am, this should be as easy as adding the outlook.com address to the list of emails to forward to; this will depend on your hosting provider, however. If you’re not sure how to do this, contact your hosting administrator.- First, you’ll need to create an Outlook alias. Click on the gear icon on the top right of your mail. It will take you to your inbox options. Click on “Create an Outlook alias”. The next screen should look like the below. You’ll note that the only available options for your alias are outlook.com,** hotmail.com** or live.com.
- In either Chrome or Firefox, using the web inspector, find the select dropdown. (In chrome: right-click, Inspect Element, drill down until you find the select, as in the below screenshot).

- Now that you’ve found the element, right click the web inspector, and click “Edit as HTML”.

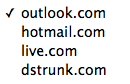
- In the below screenshot, you’ll see I’ve added my own domain to the options. The value attribute is the important thing on this one.

- Now you’ll see the dstrunk.com domain has been added to the list of selection options.
- I then submitted the data to the server, expecting some sort of error. But everything returned fine, and, once I confirmed that I could receive mail from the dstrunk.com domain, I was set to receive emails on Outlook!
